 Notice anything different about me (other than my bangin' manicure)? I decided to try oval-shaped nails for a while and see how I like them. Before I started growing my nails out a couple years ago, my nails were oval-shaped because I just trimmed (or bit) them down to the nail bed and my nail bed is naturally oval-shaped. They weren't an intentional, graceful oval shape though, they were just ragged and ugly! Anyway, I was constantly breaking the corners of my rectangular-shaped nails and having to cut them down and file them to get them to be even again, so I thought I'd try a new shape and see how it works for me. I didn't really like the shape at first but now it's growing on me! And I haven't broken a nail so far!
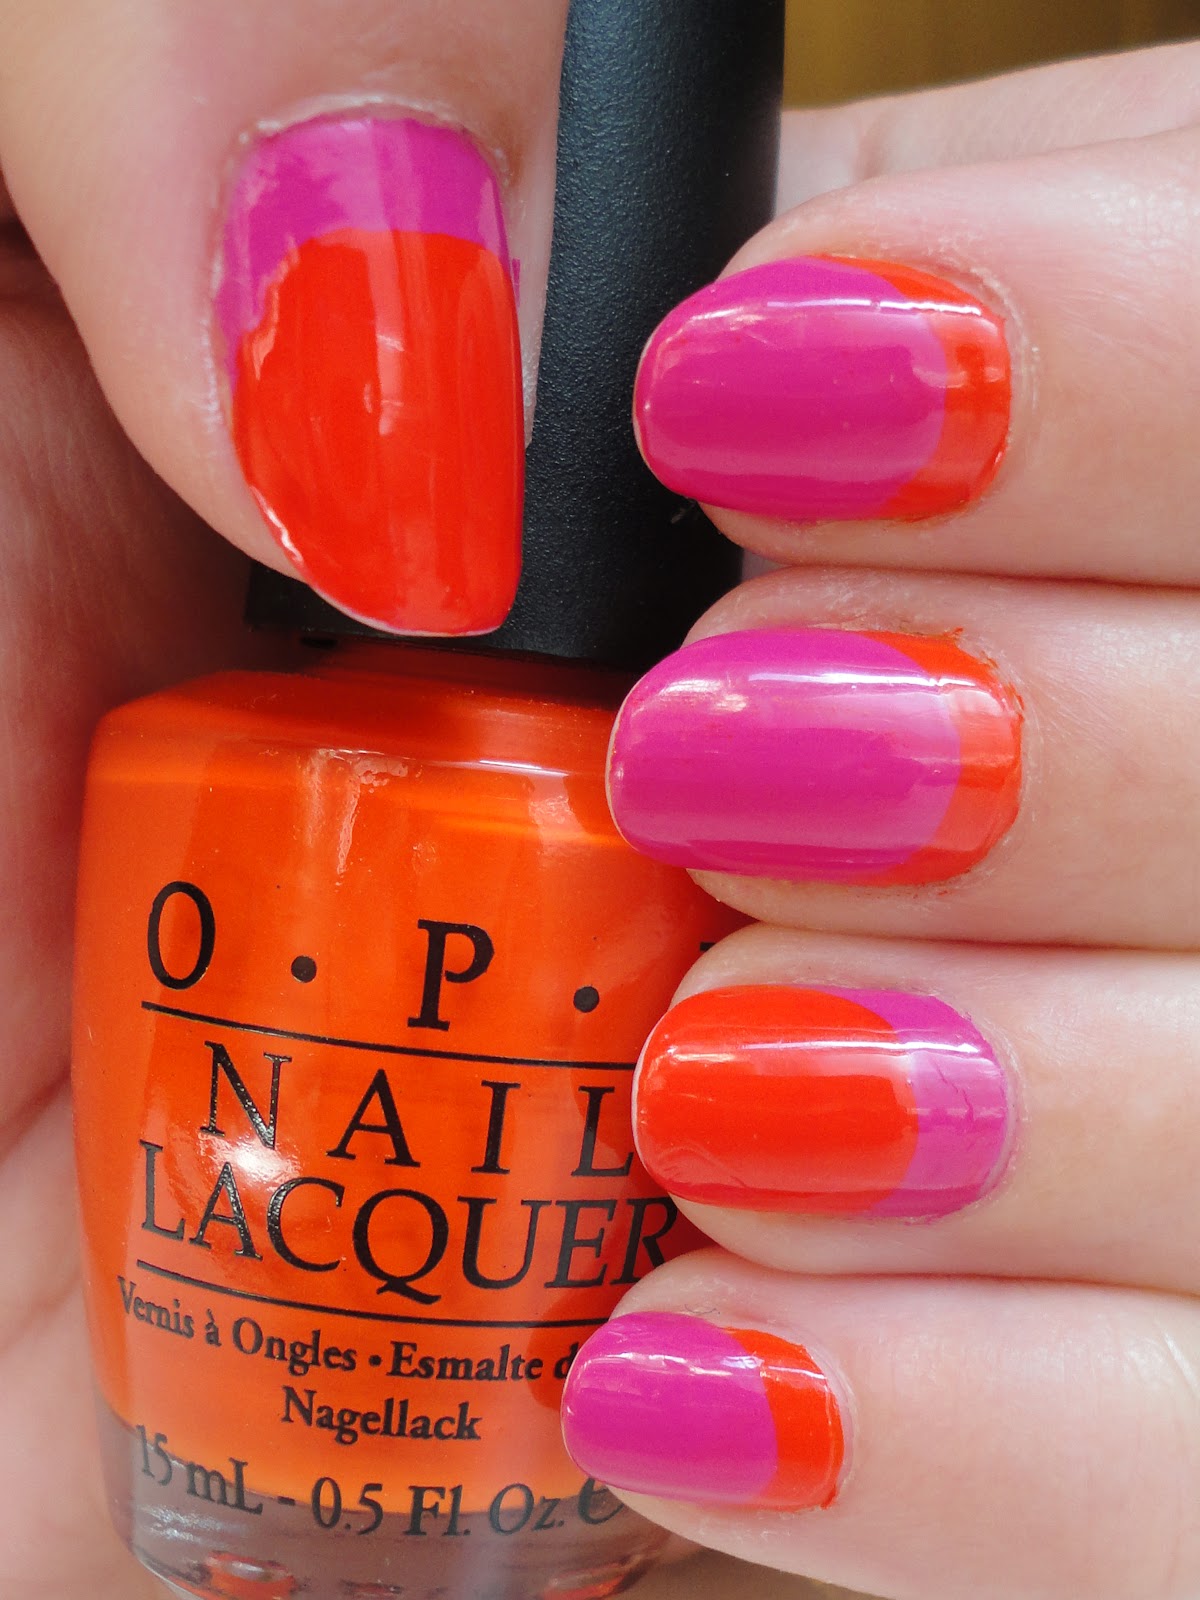 Anyway, for my first mani with my new nail shape I thought I'd try something that would emphasize the oval-ness. I did a neon ruffian manicure using hot pink and orange! On my thumb and ring fingers, which were my accent nails, I did two coats of Revlon Tulip, a nice hot pink. On my other fingers, I did two coats of OPI A Roll in the Hague, a bright reddish orange. After my base color dried, I used the opposing color to create the "ruffian" style. It's pretty easy to do because you basically paint the second color like you would paint your nail normally, following the curve of your cuticle, just up a little higher! I did two coats of the second color too, just to make sure I didn't have any patchiness.
What shape do you prefer your nails in? What do you think of the ruffian manicure style?


